In the beginning Uniform: Difference between revisions
No edit summary |
No edit summary |
||
| Line 38: | Line 38: | ||
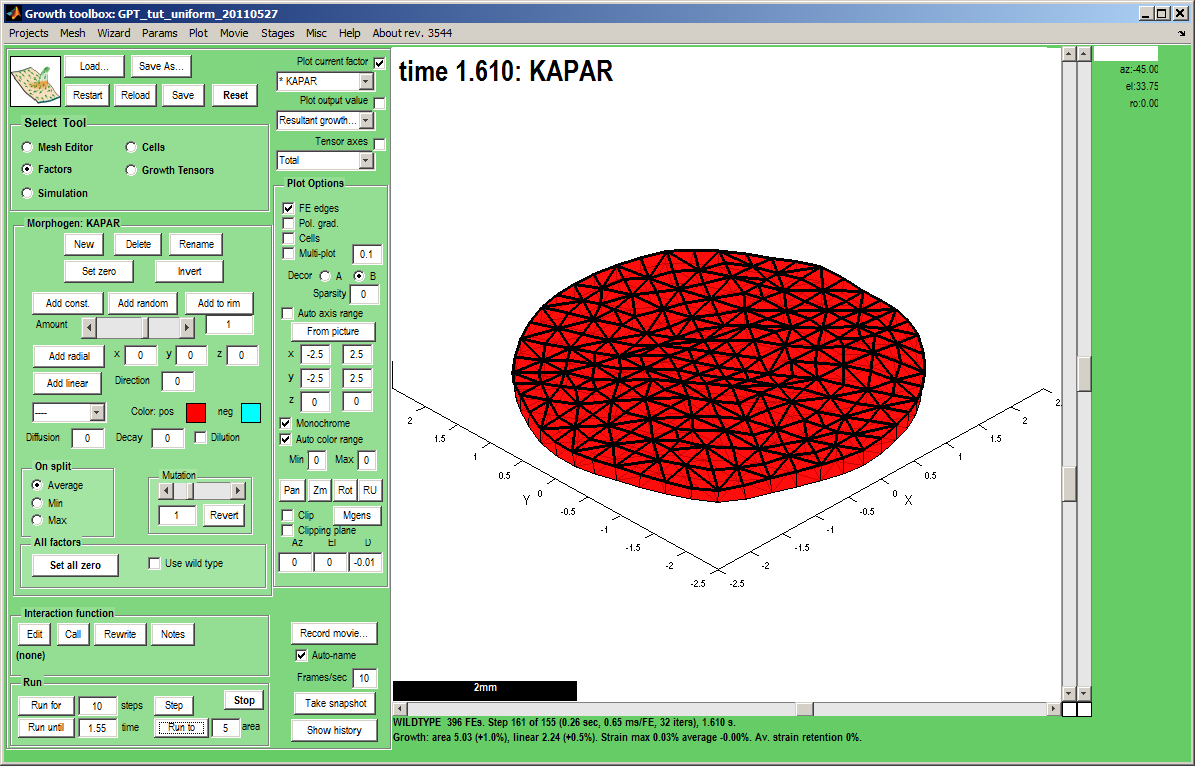
Idea: take a snapshot of the canvas by pressing Take snap... (c.f. image on right, button is bottom right of GUI controls)<br> | Idea: take a snapshot of the canvas by pressing Take snap... (c.f. image on right, button is bottom right of GUI controls)<br> | ||
Idea: to create an uncompressed movie of your simulation, before running click the ''Record movie'' and when it is finished click ''Stop movie''. The movie will be in the Project directory. We normally compress the movies using Microsoft Live Movie Maker or Quicktime.</small> | Idea: to create an uncompressed movie of your simulation, before running click the ''Record movie'' and when it is finished click ''Stop movie''. The movie will be in the Project directory. We normally compress the movies using Microsoft Live Movie Maker or Quicktime.</small> | ||
|width="500px"|[[Image:tut_uniform_growth_final.png|500px|GFtbox interface]] | |width="500px"|[[Image:tut_uniform_growth_final.png|500px|GFtbox interface]] The canvas is not flat because it started not flat. By default, a new mesh is given a small amount of random noise to allow deformations out of the plane. (This can be suppressed.) | ||
|} | |} | ||
Revision as of 11:00, 3 June 2011
Back to Tutorial pages
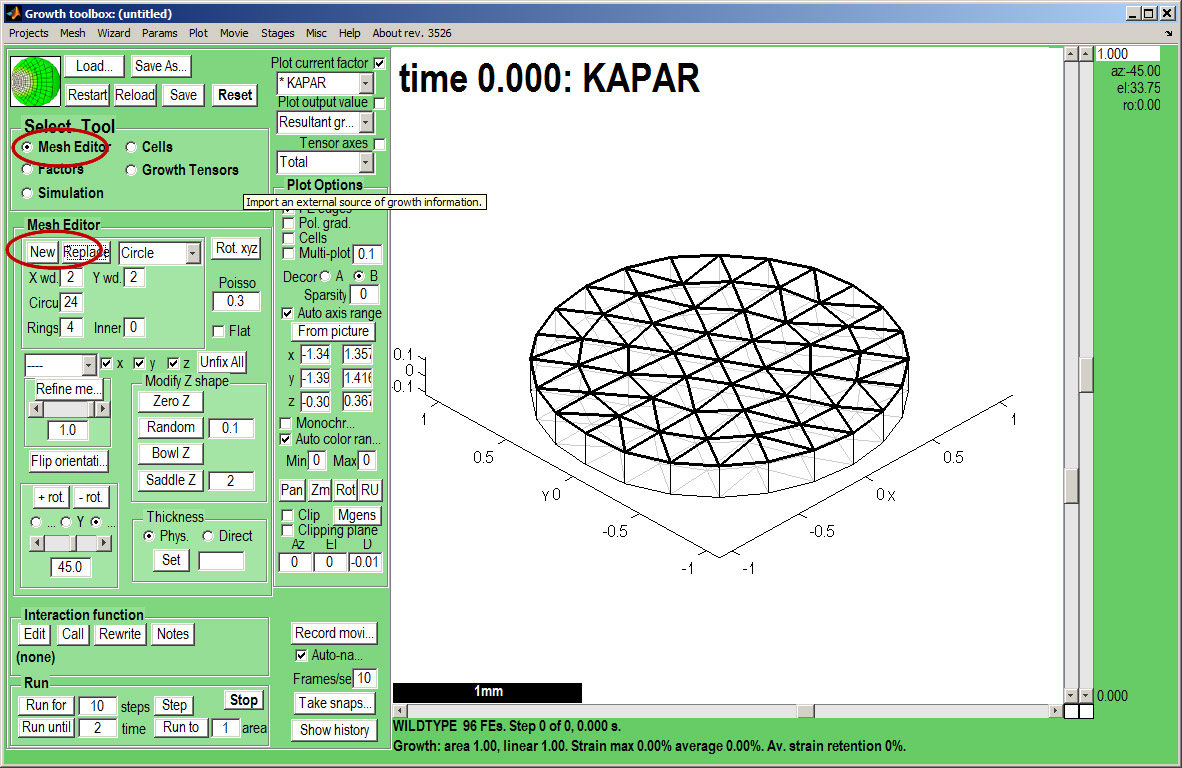
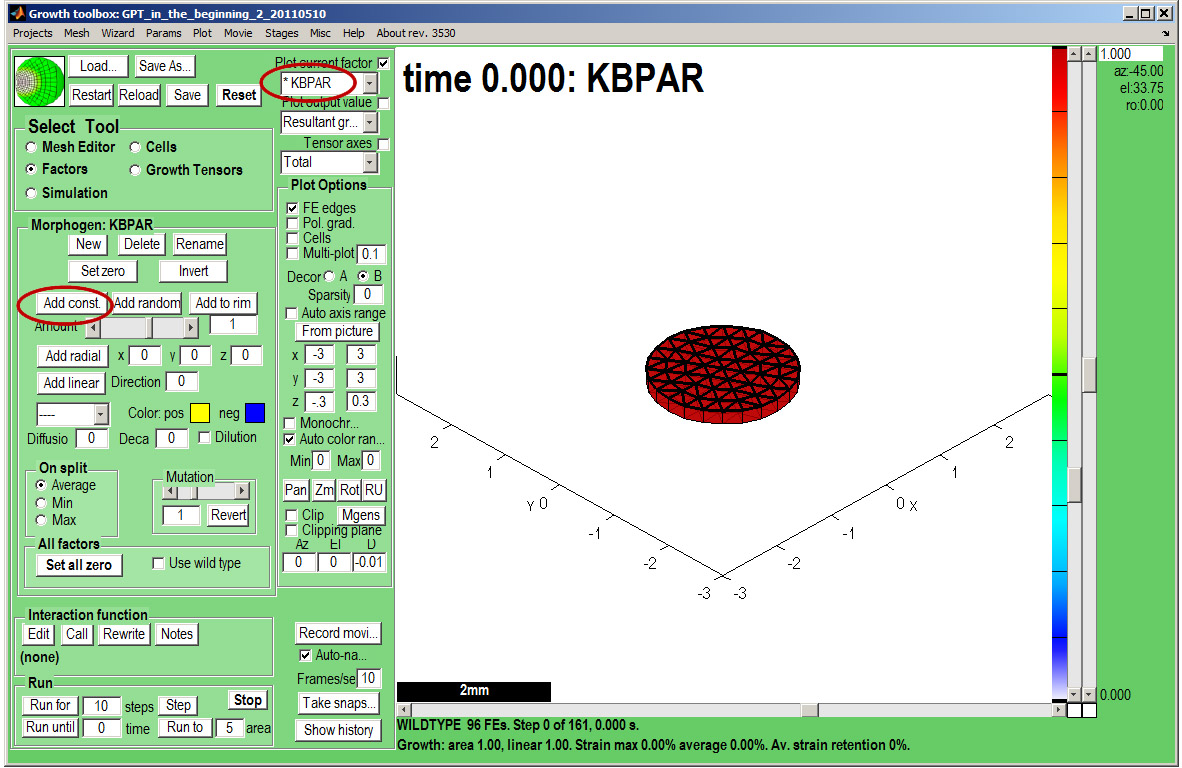
We start with a number of very large screenshots (they are just here to orient you). They show the GFtbox graphical interface.
Modelling uniform growth using the GUI alone
First view
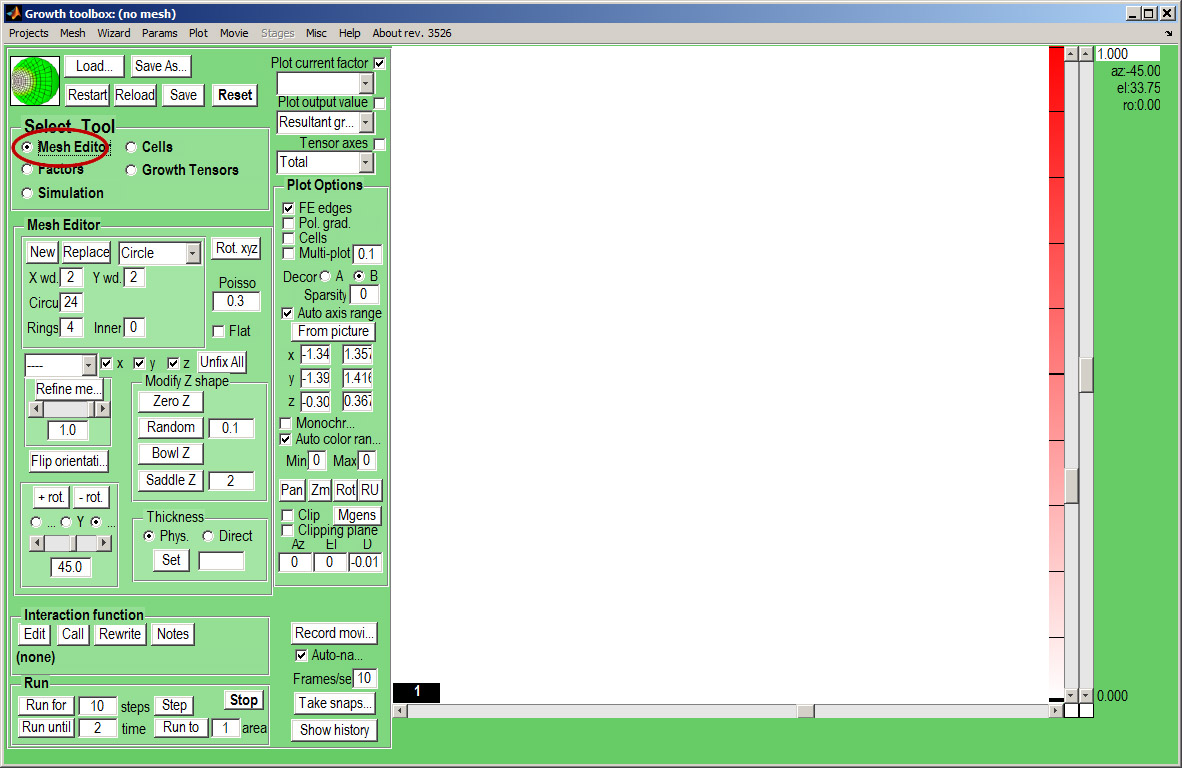
At first view the interface is daunting but try not to dispair. Some people, us at least, think it has a logic. It is divided into a set of panels. The largest is the plotting window on the right. Just to the left is a column of buttons, tick boxes, drop-down lists and buttons that control the plotting window.
Top left is a panel for loading and saving projects. (one of the most used is Reset. If you have made a programming mistake in the interaction function it is necessary to Reset the GUI).
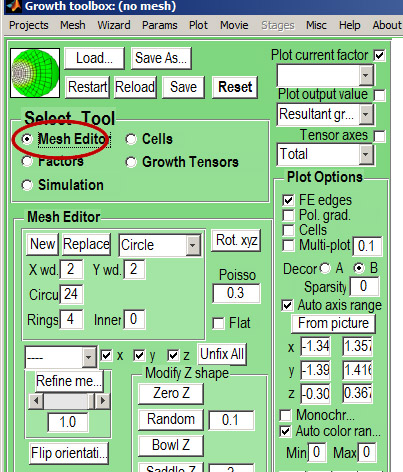
Below this is a Panel for selecting tools. These buttons select what Panel will be visible below, e.g. Mesh Editor, or Factors (for adding morphogens), etc.
At the bottom left are controls for running the model: Step, run for a specified number of steps, for a specified (model) time, run to a certain area (e.g. 2 times starting area). Above the Run Panel is a Panel for electing to Edit the interaction function, call the interaction function without actually growing.
There are also controls on the Menu bar. At this stage you might consider that the GUI has the wrong sized font. It can be changed through the Menu:Misc:GUI format control.
| The GFtbox user interface. Focus on the Select Tool Panel. Here the Mesh Editor has been selected and the Mesh Editor panel is visible.
|
|
