AAMToolbox template: Difference between revisions
Jump to navigation
Jump to search
No edit summary |
No edit summary |
||
| Line 1: | Line 1: | ||
[[Tutorials on the Shape modelling toolbox#1|Back to Tutorial pages]]<br> | [[Tutorials on the Shape modelling toolbox#1|Back to Tutorial pages]]<br> | ||
=Template Editor= | =Template Editor= | ||
== | ==Start a new project from the AAMToolbox control panel== | ||
[[AAMToolbox new project|Tutorial on starting a new project]]<br> | |||
Notice that one of the images has been co-opted as an icon representing the project. <br> | |||
[[File:AAMToolbox_GUI2.png|500px|The AAMToolbox control panel after adding the image files]<br> | |||
[[ | Once the template has been added, a second icon will be automatically created that represents the template itself. | ||
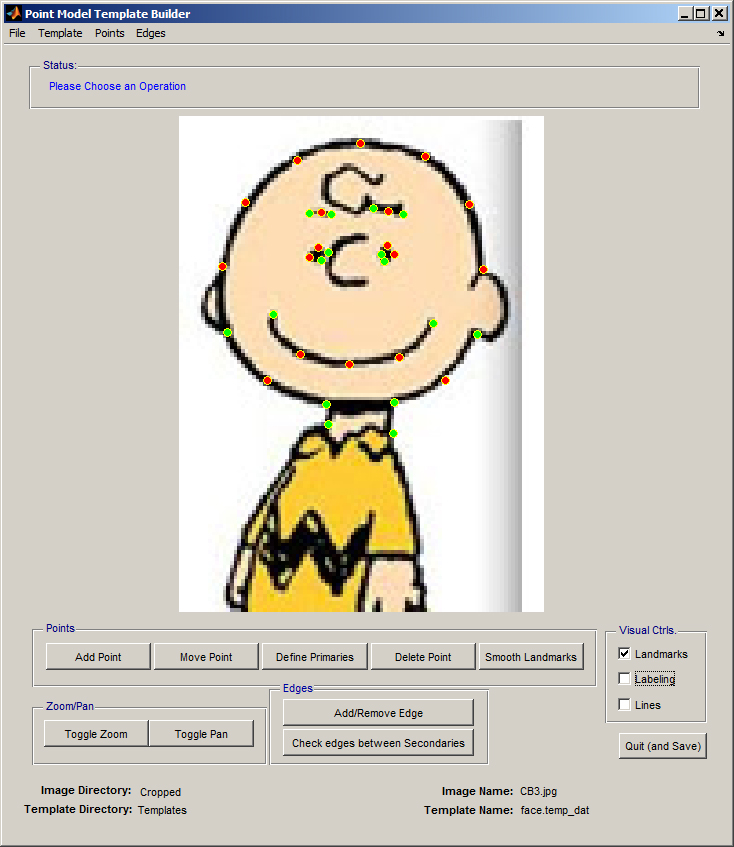
==Create a new Template using the Template Editor== | |||
==Template Editor | |||
{| border="1" cellpadding="5" cellspacing="5" | {| border="1" cellpadding="5" cellspacing="5" | ||
|- valign="top" | |- valign="top" | ||
Revision as of 12:33, 5 February 2012
Template Editor
Start a new project from the AAMToolbox control panel
Tutorial on starting a new project
Notice that one of the images has been co-opted as an icon representing the project.
[[File:AAMToolbox_GUI2.png|500px|The AAMToolbox control panel after adding the image files]
Once the template has been added, a second icon will be automatically created that represents the template itself.
Create a new Template using the Template Editor
| Idea: Special shapes can be imported as OBJ files. | 
|