AAMToolbox template: Difference between revisions
Jump to navigation
Jump to search
No edit summary |
No edit summary |
||
| Line 7: | Line 7: | ||
{| border="1" cellpadding="5" cellspacing="5" | {| border="1" cellpadding="5" cellspacing="5" | ||
|- valign="top" | |- valign="top" | ||
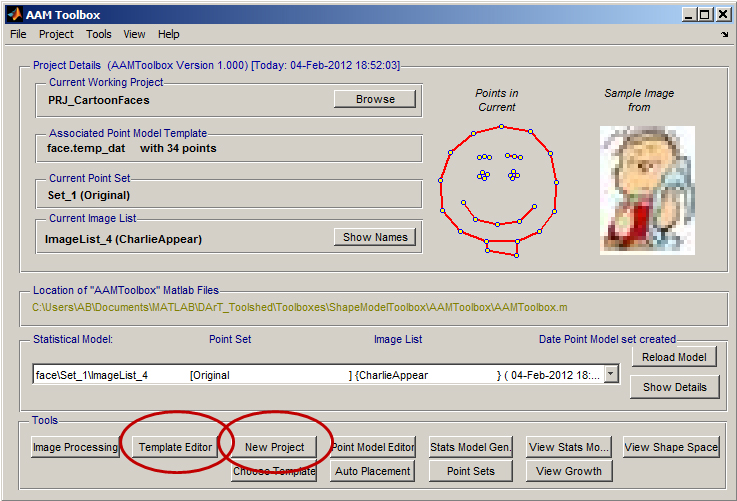
|width="300px"|The ''AAMToolbox'' user interface. Click on the | |width="300px"|The ''AAMToolbox'' user interface. Click on the New Project. <br> | ||
[[File:AAMToolbox_Template_Editor.jpg|300px|GFtbox interface]] | [[File:AAMToolbox_Template_Editor.jpg|300px|GFtbox interface]] | ||
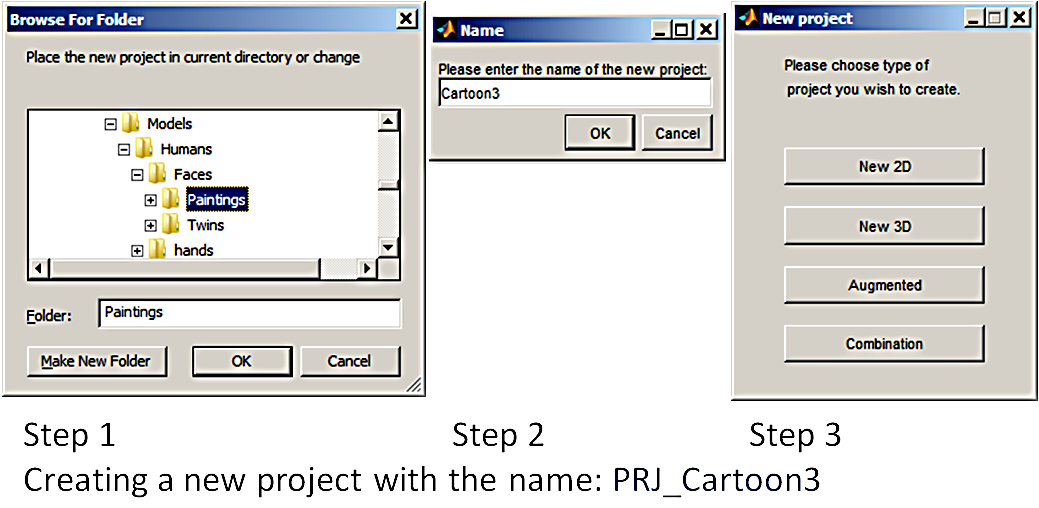
|width="500px"|[[File:New_AAMToolbox_Project.png|500px|GFtbox interface]] | This will lead you through three steps<br> | ||
#Select the directory in which to create the project | |||
#Name the project: the prefix PRJ_ will be added automatically | |||
#Select the type of project, in this case a 2D shape model | |||
<br> | |||
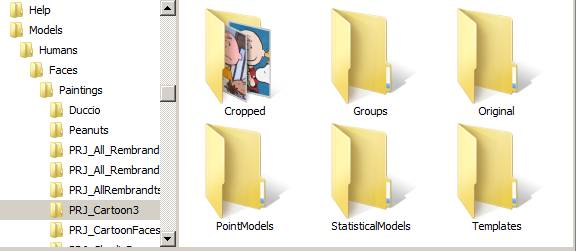
Next copy the images to be analysed into the directory 'Cropped'. | |||
''Template Editor'' button circled in red. <br> | |||
|width="500px"|[[File:New_AAMToolbox_Project.png|500px|GFtbox interface]]<br. | |||
[[File:Project Folders AAMToolbox.png|300px|GFtbox interface]] | |||
|} | |} | ||
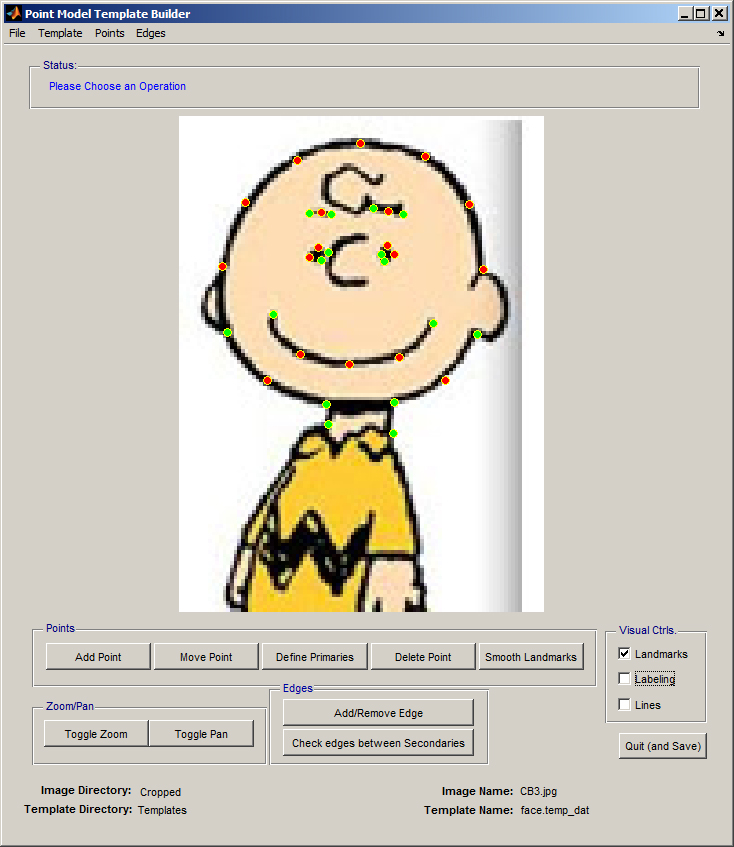
==Template Editor control panel== | ==Template Editor control panel== | ||
Revision as of 12:02, 5 February 2012
Template Editor
From the AAMToolbox control panel
Template Editor control panel
| Idea: Special shapes can be imported as OBJ files. | 
|


