AAMToolbox template: Difference between revisions
Jump to navigation
Jump to search
No edit summary |
No edit summary |
||
| Line 22: | Line 22: | ||
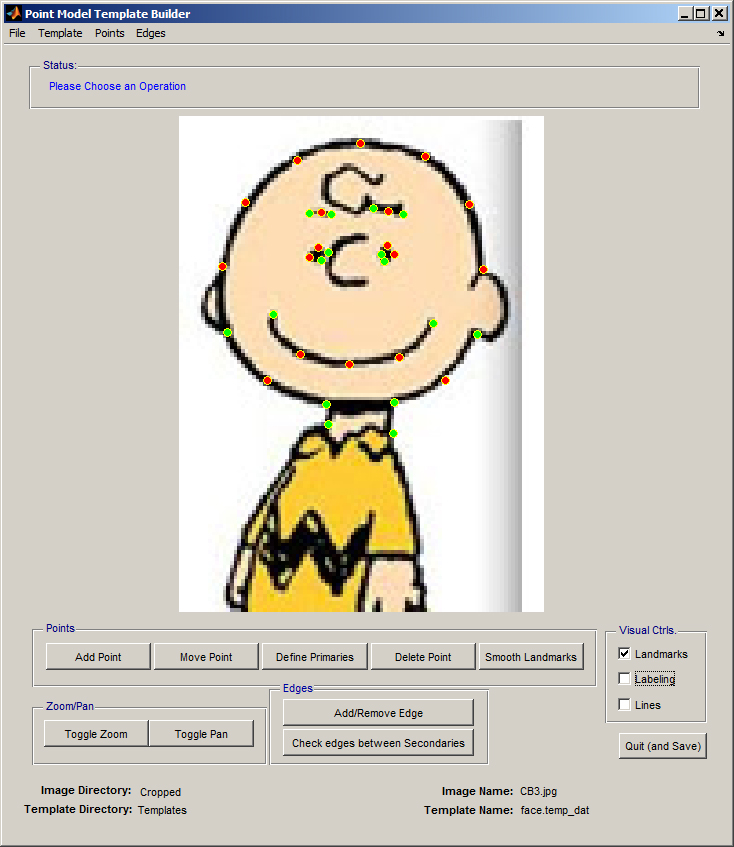
#Secondary points can be spread evenly along a cubic spline that joints the primary landmarks by selecting 'Smooth Landmarks'. | #Secondary points can be spread evenly along a cubic spline that joints the primary landmarks by selecting 'Smooth Landmarks'. | ||
#Lines joining points can aid understanding, but they do not contribute to the final shape model. <br> | #Lines joining points can aid understanding, but they do not contribute to the final shape model. <br> | ||
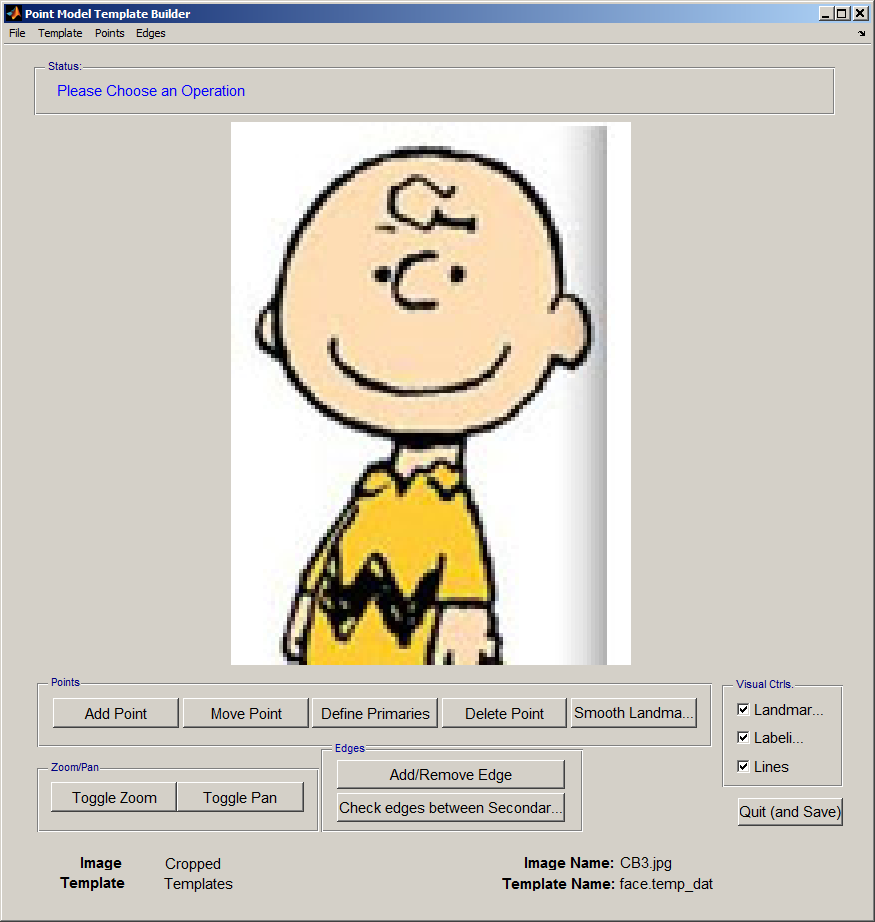
When the template is correct 'Quit (and Save)' using the button, bottom right.<br> | |||
|width="300px"|[[File:Template2.jpg|300px|Point model template builder interface]]<br> | |width="300px"|[[File:Template2.jpg|300px|Point model template builder interface]]<br> | ||
#The point model is a set of points (red and green dots) that are used to build the shape model | #The point model is a set of points (red and green dots) that are used to build the shape model | ||
| Line 27: | Line 28: | ||
#Edges (red lines) are added to make the point model more understandable to humans | #Edges (red lines) are added to make the point model more understandable to humans | ||
|} | |} | ||
==Choose a template using the AAMToolbox control panel== | |||
Having created a template it should be selected using the AAMToolbox main interface, 'Choose Template'. <br> | |||
[[File:Choose_Template_AAMToolbox.png|500px|The AAMToolbox control panel after adding the image files]]<br> | |||
Once the template has been added, a second icon will be automatically created that represents the template itself. Here it is the red smiling face. | |||
Revision as of 16:53, 5 February 2012
Template Editor
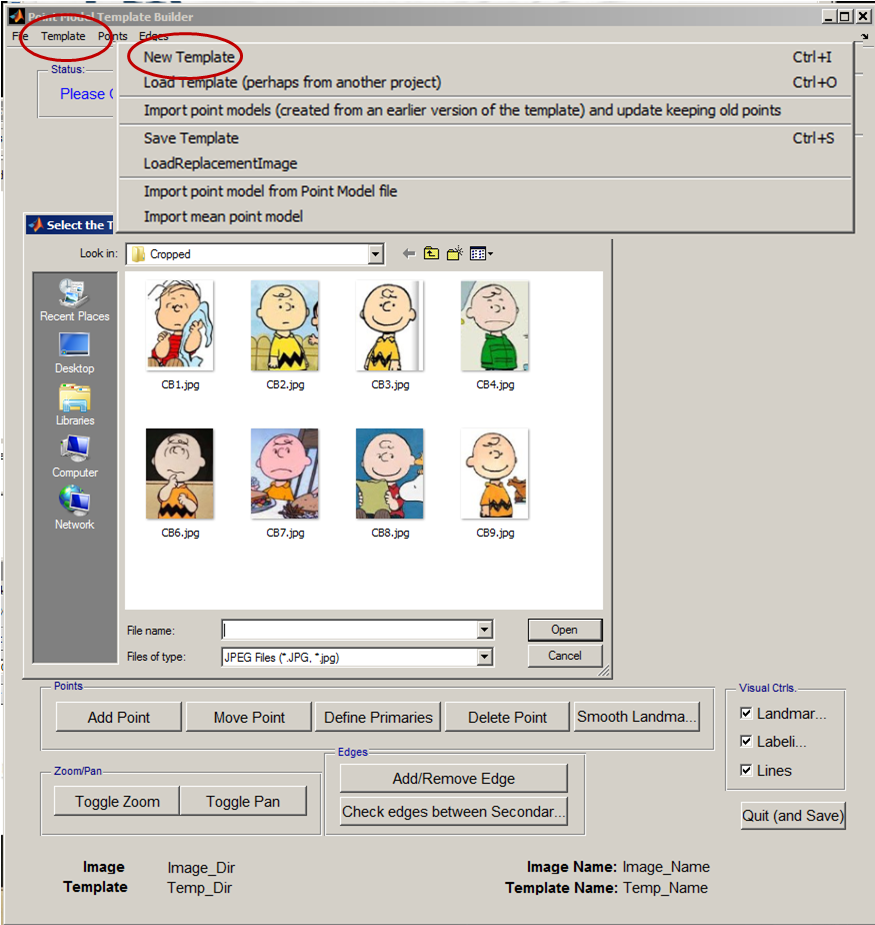
Start a new project from the AAMToolbox control panel
Tutorial on starting a new project
Notice that one of the images copied into the project has been co-opted as an icon representing the project.
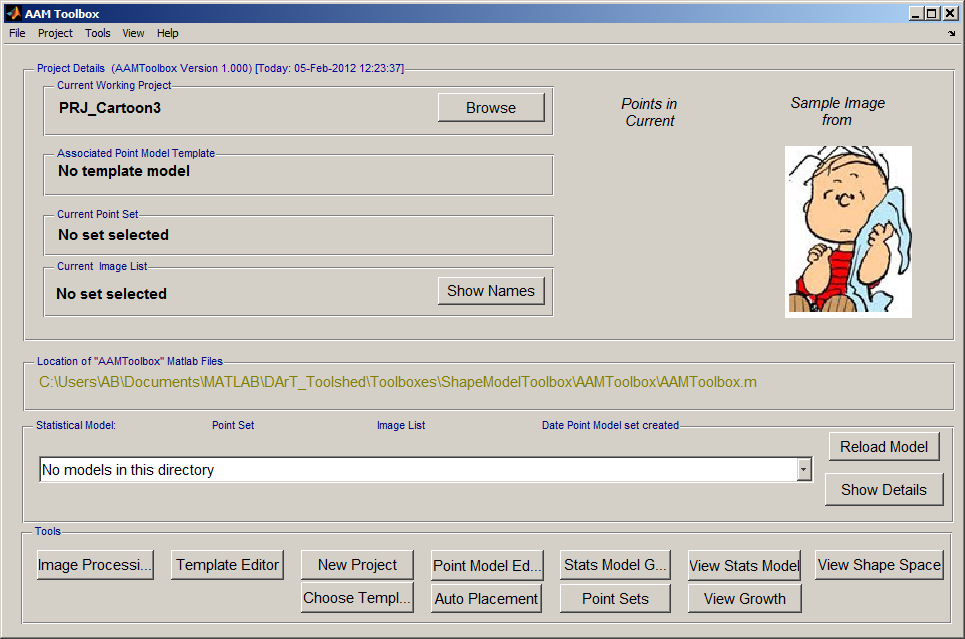
Once the template has been added, a second icon will be automatically created that represents the template itself.
Select an image on which to base the template
Create a new Template using the Template Editor
Choose a template using the AAMToolbox control panel
Having created a template it should be selected using the AAMToolbox main interface, 'Choose Template'.
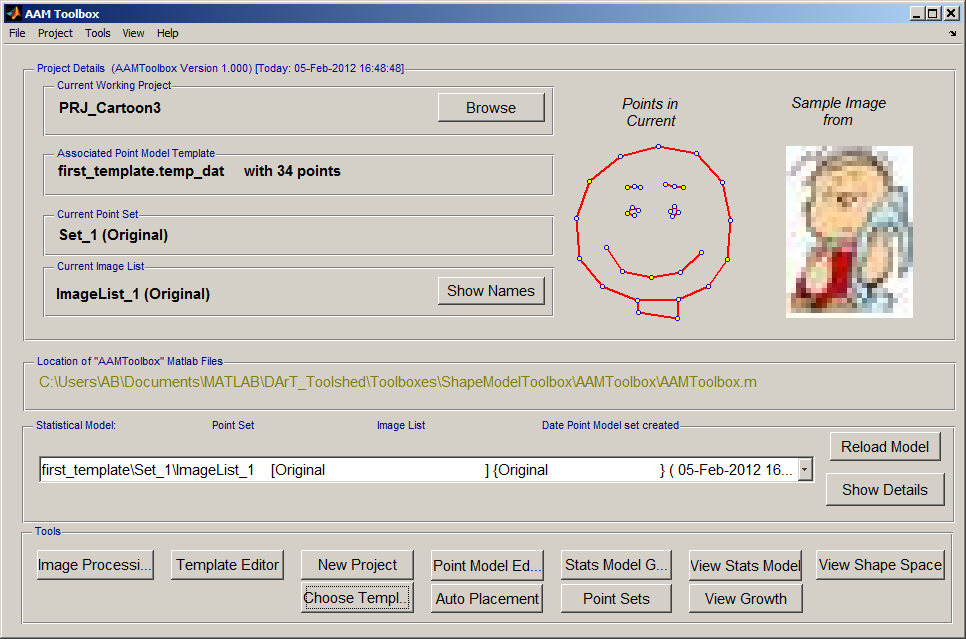
Once the template has been added, a second icon will be automatically created that represents the template itself. Here it is the red smiling face.
