Back to Tutorial pages
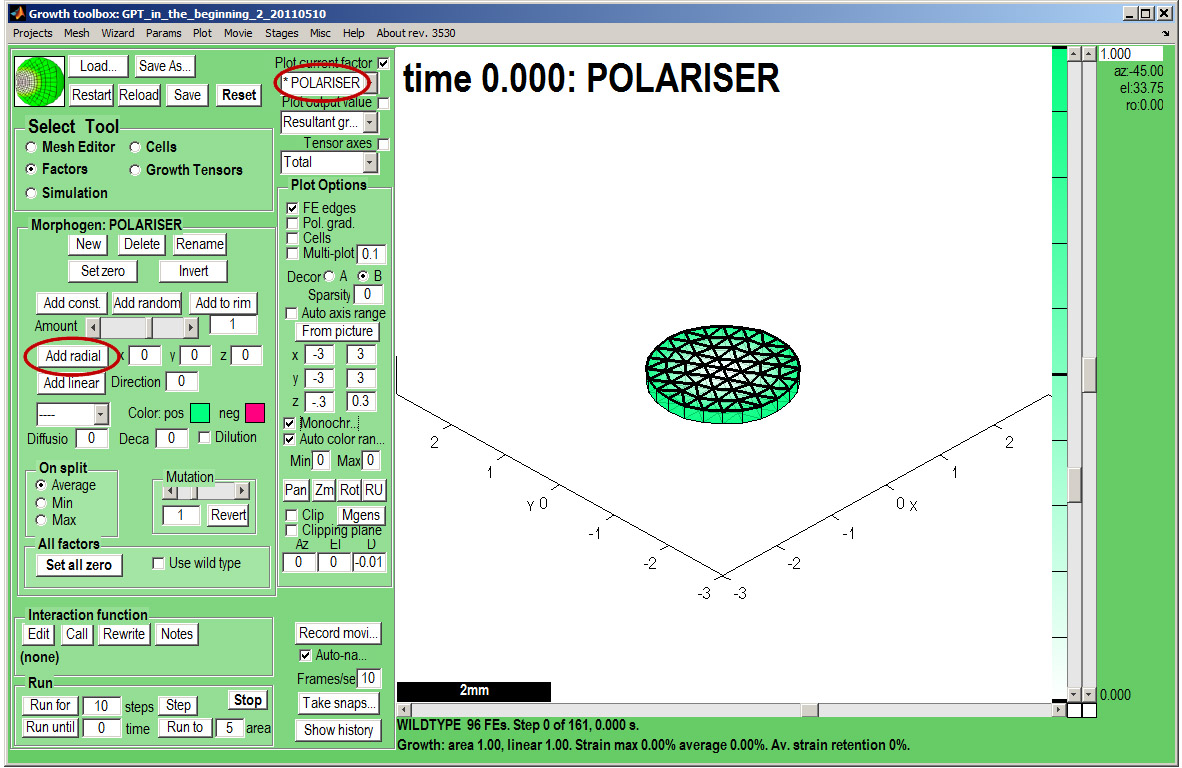
We start with a number of very large screenshots (don't be daunted they are just here to orient you). They show the GFtbox graphical interface.
Having already produced a disc with uniform growth on A and B sides (see First tutorial)
Add a pattern of polariser
Select Tool:Factors makes the Morphogen Panel visible. Currently we are controlling the Polariser factor. It has been selected from a drop down list top right (Plot current factor). We add a radially increasing gradient of Polariser. Make sure that the Panel Plot Options:Monochrome is ticked and the gradient of Polariser will be as shown.
Turn on Panel: Plot Options: Pol. grad. and turn off Panel: Plot Options:FE edges.
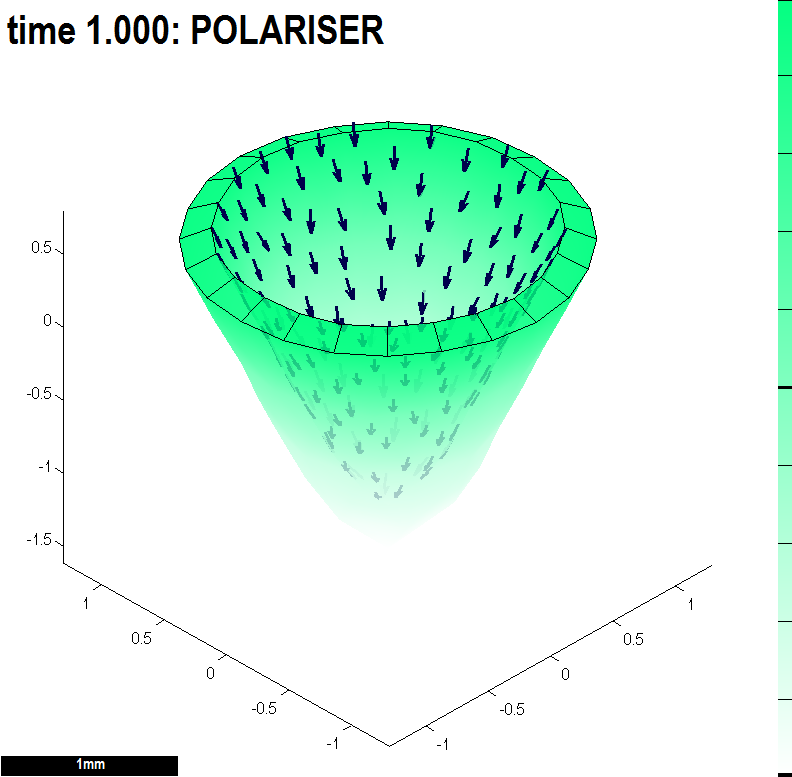
Then, when growth starts, arrows will point down the polariser gradient.
What will be the result of growth?
|

|
And grow
| Now save the project using the Save As button.
Change the Panel Run:Run until box to 3 and click the Panel Run:Run until button. The canvas will grow in steps set by the Panel Simulation:Timescale box.
Idea:To see the arrows more clearly reduce the number by setting Panel: Plot Options: Sparsity to 0.1. Larger values reduce the number of arrows and makes them larger
Note: there are options to programmatically change the size, colour and density of arrows.
|

|