AAMToolbox simplify point model
What does it mean to best fit the shape model to a particular image point model
All the point models were used to find the shape model. If there were just two dimensions, this would be similar to fitting a straight line to y=ax by finding a. In the Cartoons shape model, there are 34*2=68 dimensions yielding 68 components. However, most of these represent noise and the Stats Model Generator found that 95% of the variance could be accounted for by just 5 of the components. So we should (actually, might is a better word) be able to represent any of the point models that we used to build the shape model. Here, we project a particular point model into shape space, take the 5 principle components (setting the rest to zero), and project the result back into our normal viewing space. The result should look similar to the point model itself.

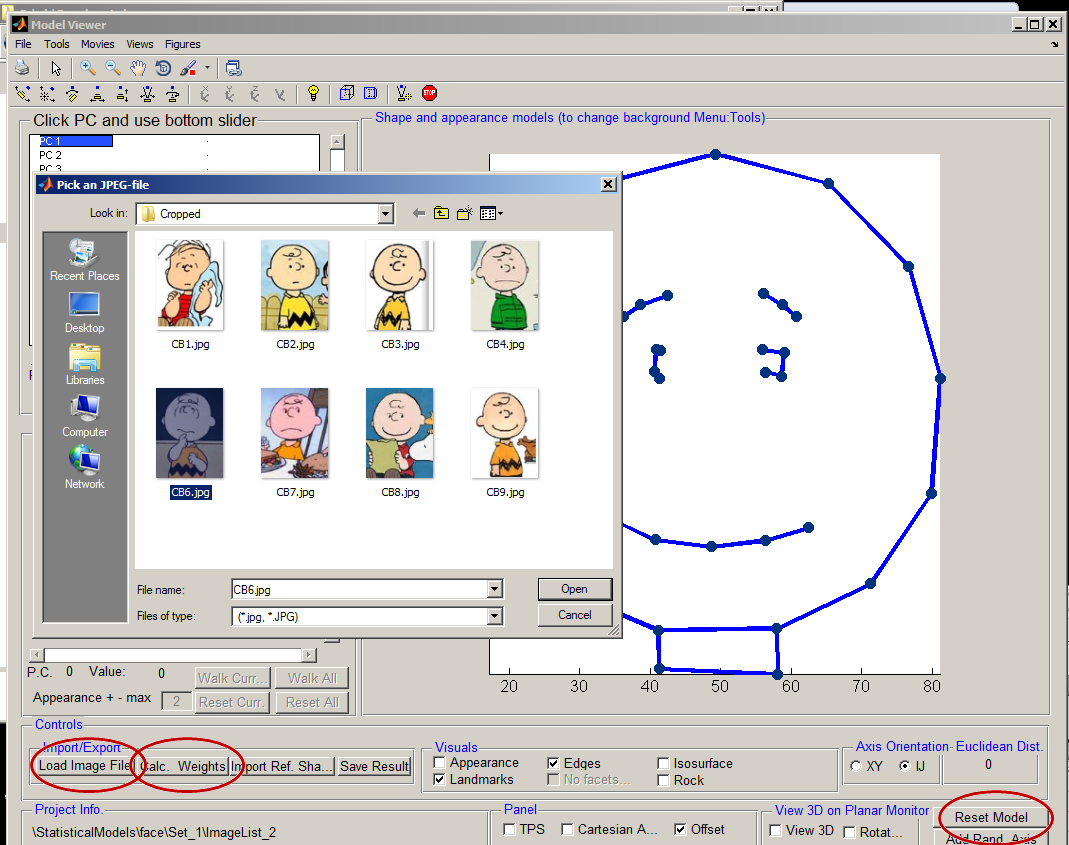
In the act of loading an image file (highlighted in sub-window). Red ellipses highlight the buttons needed to load an image - actually the point model associated with an image - calculate the associated weights and reset the model back to the mean again. It is important to reset back to the mean before each import.
The reset is required because each time a point model is imported, it's deviation from the mean is added to the current model. Thus, to add the deviations for one place in shape space to another, first load the other (reference shape) by using the Import Ref. shape button.

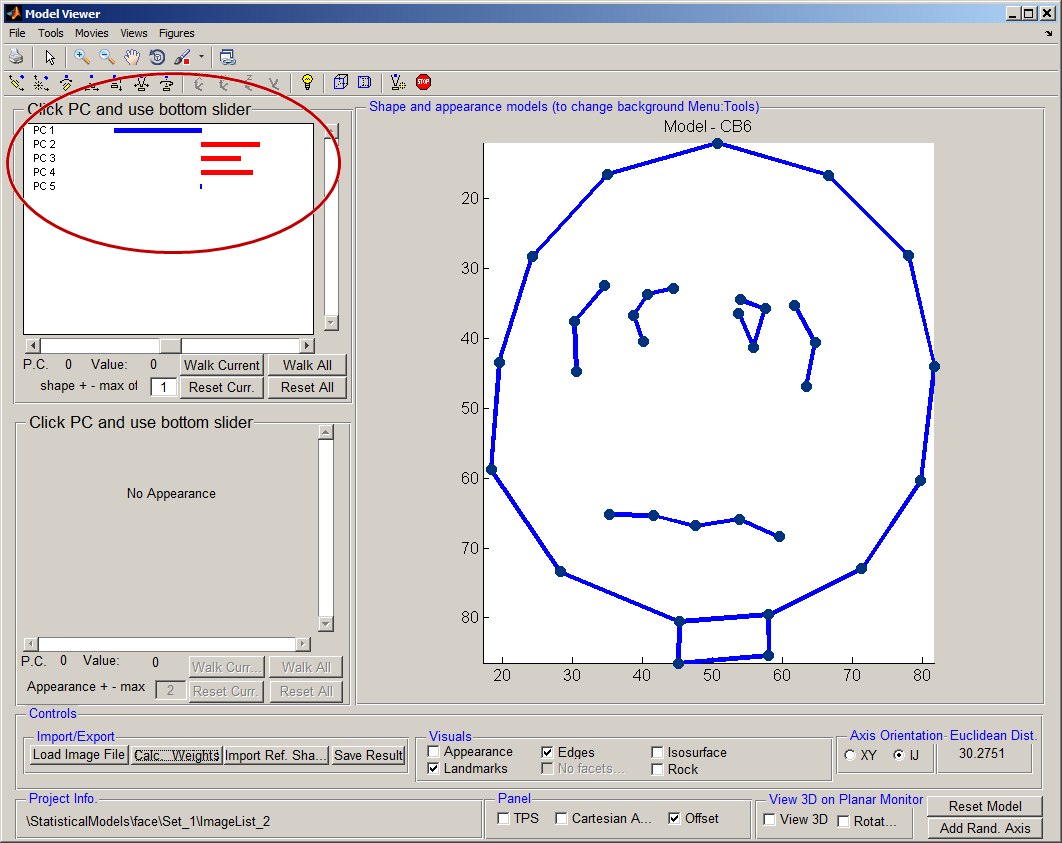
Result of Calculating the Weights (see button) . Notice that the bars representing the principle components have been adjusted to show how far this approximation to the point model deviates from the mean.
Here, we have referred to shape space but what is it? Project into shape space? See next tutorial.